Bahasa HTML untuk menampilkan file gambar dapat digunakan untuk memperindah dan memudahkan navigasi file Tipe file gambar yang ada sekarang ini diantaranya adalah GIF (graphics interchange format – .gif), JPEG/JPG (joint photographic experts – .jpeg), XBM (X bitmaps – .xbm), XPM (X pixelmaps – .xpm), PNG (portable network graphics – .png). File gif baik untuk digunakan dalam ilustrasi seperti logo, sementara file jpeg baik untuk gambar yang kompleks seperti foto. File bertipe JPG berukuran lebih kecil dibandingkan tipe yang lain karena kompresi yang digunakan mengabaikan piksel-piksel yang dianggap membawa perubahan minor pada gambar, kompresi ini dinamakan lossy. Faktor yang harus diperhatikan oleh web designer mengenai gambar adalah ukuran file serta kualitasnya.
Untuk menyisipkan gambar dalam file HTML, gunakan tag <img> dan tentukan nilai atribut src, yaitu URLdari file gambar berupa absolut URL atau relatif URL. Untuk memasukkan gambar yang berada pada tempat yang sama dengan file HTML, gunakan:
<img src=”logo.gif”>
Sedangkan penggunaan alamat absolute URL, dengan cara:
<img src=”https://avif.top/images/logo.gif”>
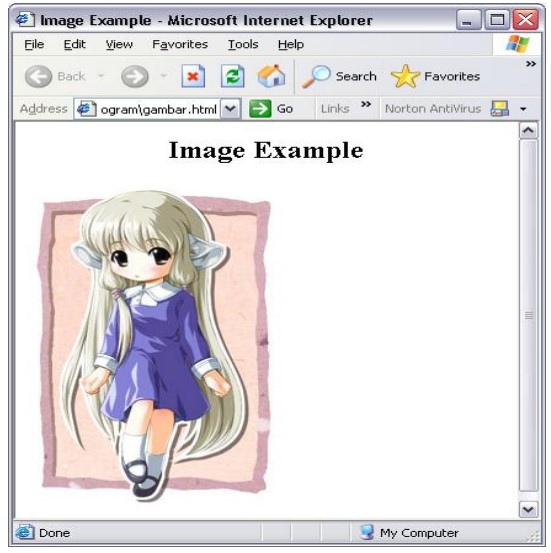
Berikut ini adalah contoh kode penggunaan tag < img> :
<html>
<head>
<title>Image Example</title>
</head>
<body>
<h2 align=”center”>Image Example</h2>
<img src=”images/chobits.jpg” width=”207” height=”325” border=0>
</body>
</html>
Tampilan untuk kode di atasadalah sebagai berikut :
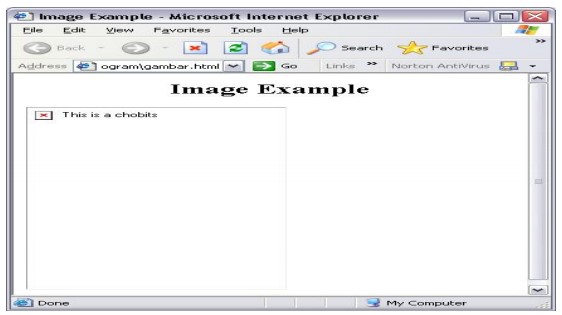
Dalam <img> terdapat beberapa atribut,diantaranya alt. Alt digunakan untuk menyediakan teks pengganti apabila gambar tidak dapat ditampilkan. Nilai atribut alt dapat ditampilkan di tempat gambar atau sebagai tool tip. Sekarang ini, dengan adanya atribut title, alt digunakan untuk menampilkan teks apabila gambar tidak dapat ditampilkan dan nilai dari atribut title sebagai tool tip.
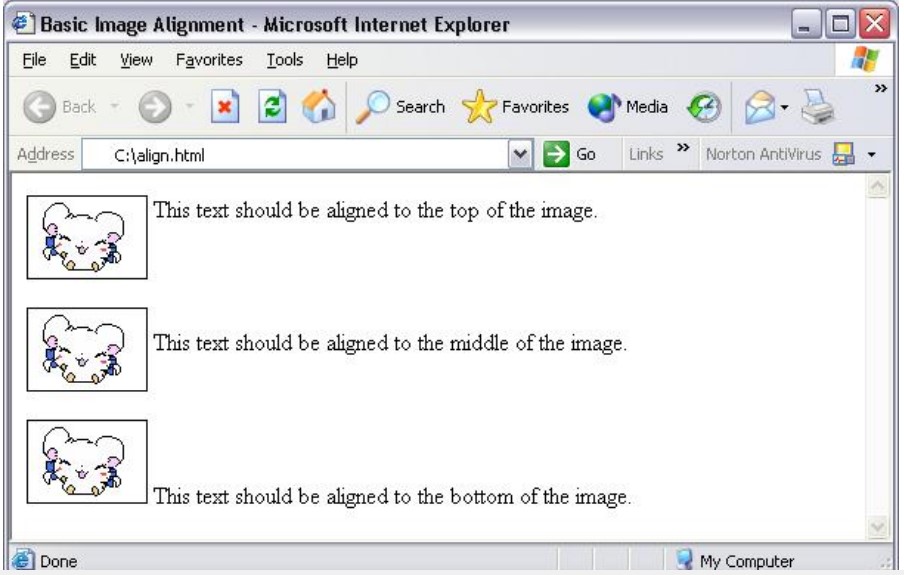
Gambar dapat diatur posisinya dalam file HTML dengan menggunakan atribut align. Atribut align dapat bernilai top,bottom atau middle. Apabila gambar disertakan dalam teks maka teks selanjutnya akan terletak ditop, bottom atau middle dari gambar tergantung nilai dari atribut align. Berikut ini adalah contoh kode penggunaan <img> dan atribut align beserta hasil tampilannya:
<html>
<head>
<title>Basic Image Alignment</title>
</head>
<body>
<p><img src=”image/aligntest1.gif” align=”top” border=”1”>
This text should be aligned to the top of the image.</p>
<p><img src=”images/aligntest1.gif” align=”middle” border=”1”>
This text should be aligned to the middle of the image.</p>
<p><img src=”images/aligntest1.gif” align=”bottom” border=”1”>
This text should be aligned to the bottom of the image.</p>
</body>
</html>
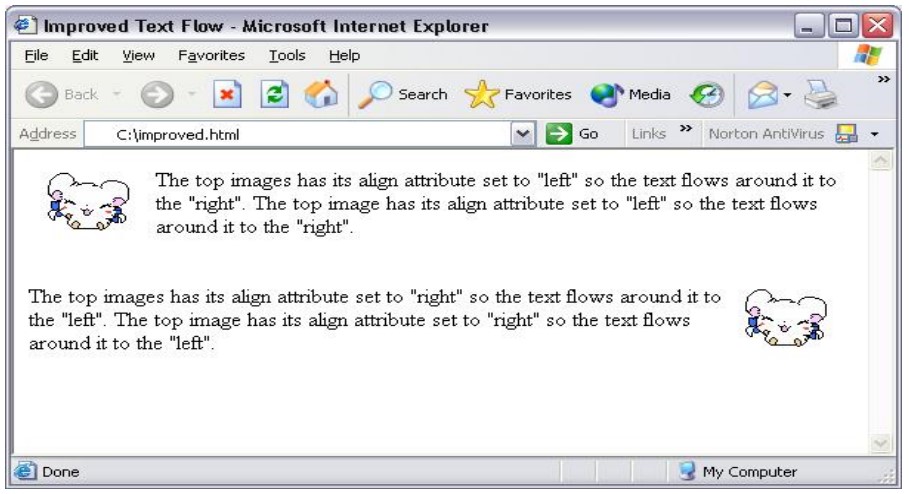
Dengan nilai align seperti diatas, teks tidak berada di sekeliling gambar sehingga layout file terlihat aneh. Netscape memperkenalkan nilai left dan right untuk atribut align. Dengan demikian maka jika gambar berada di sebelah kiri maka teks akan berada di sebelah kanan gambar, demikian juga sebaliknya. Berikut ini adalah contoh kode penggunaan left dan right untuk atribut align beserta tampilannya :
<html>
<head>
<title>Improved Text Flow</title>
</head>
<body>
<img src=” image/aligntest1.gif ” align=”left”>
The top images has its align attribute set to “left” so the text flows around it to the “right”. The top image has its align attribute set to “left” so the text flows around it to the “right”.
<br clear=”left”><br><br>
<p><img src=” image/aligntest1.gif ” align=”right”>
The top images has its align attribute set to “right” so the text flows around it to the “left”. The top image has its align attribute set to “right” so the text flows around it to the “left”.
</body>
</html>
<html>
<head>
<title>HSPACE and VSPACE Example</title>
</head>
<body>
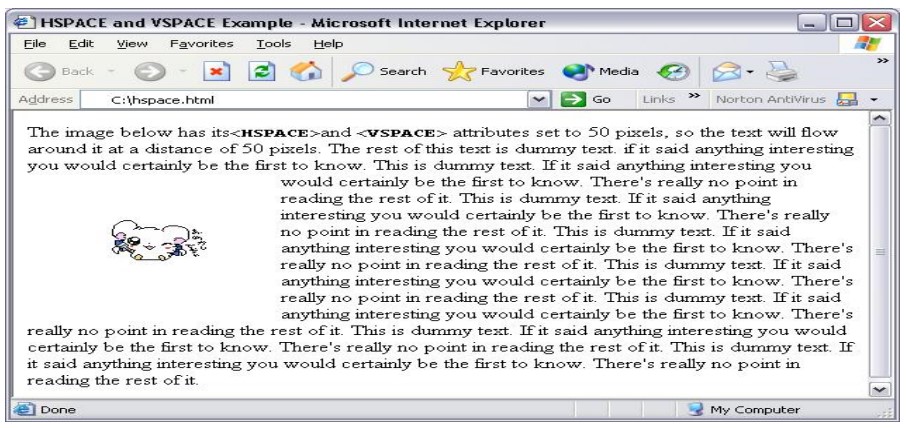
<p>The image below has its<tt><b><HSPACE></b></tt>and
<tt><b><VSPACE></b></tt> attributes set to 50 pixels, so the
text will flow around it at a distance of 50 pixels. The rest of this
text is dummy text. if it said anything interesting you would
certainly be the first to know.
<img src=”images/aligntest2.gif” align=”left” hspace=”50″vspace=”50″>
This is dummy text. If it said anything interesting you would certainly be the first to know. There’s really no point in reading the rest of it. This is dummy text. If it said anything interesting you would certainly be the first to know. There’s really no point in reading the rest of it. This is dummy text. If it said anything interesting you would certainly be the first to know. There’s really no point in reading the rest of it. This is dummy text. If it said anything interesting you would certainly be the first to know. There’s really no point in reading the rest of it. This is dummy text. If it said anything interesting you would certainly be the first to know. There’s really no point in reading the rest of it. This is dummy text. If it said anything interesting you would certainly be the first to know. There’s really no point in reading the rest of it. This is dummy text. If it said anything interesting you would certainly be the first to know. There’s really no point in reading the rest of it.
</p>
</body>
</html>
Demikian tadi adalah penjelasan tentang Bahasa HTML untuk menampilkan file Gambar di Website, semoga bermanfaat dan menambah wawasan dalam membuat website.